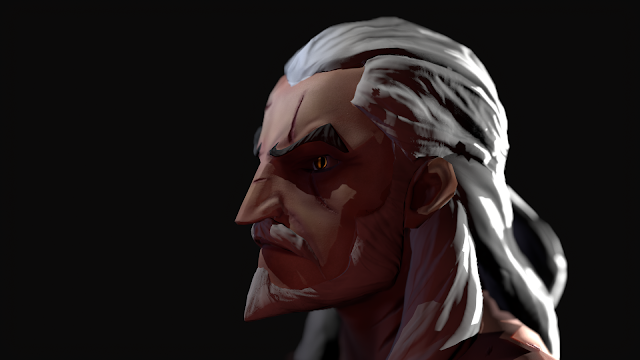
I edited the sky light and background colours, still opting for a warmer light but going for a more neutral and dark coloured background colour. I then edited some of my maps, such as adding SSS and the size reference tool so that it worked properly, and using global illumination to create more convincing bounceback and shadows. This immediately improved the quality of my model, making it a more convincing reproduction of an actual character instead of a lifeless object.
Adjusting the sky light
Size reference
Adding SSS
Fill lights
Rim lights
Cameras
Final camera angles
Finally I added warm orange spot lights within the eyes to make them glow and stand out. The effect was subtle but very effective as it added an element of the supernatural to the model. I took my final render shots, using similar camera angles to my first shots. I was very pleased with the final result and the feedback that I received pushed the appearance of the model even further.


No comments:
Post a Comment