I decided to alter the layout of the large courtyard room, to make it more interesting. I added another level at the top, moved the ceiling pieces down so that the room wouldn't be too tall. Icreated windows using a smaller version of the door piece, and a ceiling lattice frame instead of using large cloth drapes, as I thought it looked messy and felt claustrophobic. I would like to add wicker alphas to the lattice for the final version, as I saw in my inspiration images.
At first I tried expanding the floor space, but this was not going to improve the level of visual interest.
This is what the ceiling looked like before being extended.
Ceiling during extension
Making the frames
Adding the frames
New cloth design
Playing around with positions of cloth
Final cloth position
The most difficult asset to make so far was a small table, which was decorated with a patterned trim. I found it difficult to purge all of the Ngons from this as I used the chamfer tool incorrectly. As a result I had to completely rework some of the faces to solve these problems, but I was satisfied with the final table.
Making my table from reference of 18th dynasty egyptian tables
Placing vases on top of the table
I wanted to make some elements of a lounge area that could be comfortable to sit around, but I did not want to overdo this as another teammate was already planning to produce a lounge area within the statue room. Therefore I modelled three cushions using the spherify and turbosmooth tools, making sure that they were not too high poly. I placed them into the level, and scattered a few around to represent the messy and raided area.
Cushion creation and placement
Next I produced another plant pot, this time based on ancient ceramic troughs that would have been filled with plants. I created a version that was empty, and a version that had a surface to mimick soil. I could create a soil texture in substance to fill it. I made empty ones so that I could create some knocked over pots, with plants and soil spilling out.
The empty trough
The trough with soil and plants
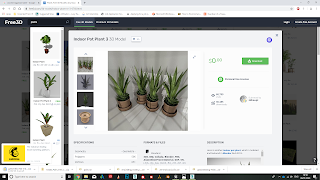
At this point, I decided that it would be a good idea to place in some foliage to see how my hero asset and the plant pots woould look. As I planned to do the final foliage using alphas, I wanted to save time for the visualisation part, and so I downloaded three plant models that I could use as an example. I will obviously not use these in the final as these are not my work, but they helped me to get a feel of what the final room would look like.
Downloading some example plant models from a website
I liked the height and granduer of the palm trees in the centre of the room
After receiving feedback from my teammates and my tutors, I decided to add some decorative trims to the doors and windows. This was an element that was noticeable in my research also. These small details helped to bring much more realism, as it was supposed to be a room in an egyptian palace.
Making a door trim
Window trims
A snapshot of my courtyard arrangement as it is currently. It looks much more interesting visually than it did.


No comments:
Post a Comment