I had some issues with my files corrupting, but I was able to locate an older zbrush file and recover my work.I decided to use the decimation tool in Zbrush to greatly reduce the number of tris and maintain the detail before importing into 3ds max as I was having conatsant crashing issues.
After decimating I imported my mesh. I had some errors with backfacing faces too close to eachother on the skirt and sash, as well as the gauntlets. I decided to fix this to prevent baking issues later on in the process. I used the 3ds max relax tool in the freeform menu to bring the top faces further away from the back faces. I used it carefully and precisely to stop the rest of the detail from disappearing, like the creases in the linen skirt.
Once this was done I began retopping the body. In hindsight I should have started with the head but I felt that the body would be the most challenging to work through. I found that I could seperate the elements that would be easier to retop and continued working like this. The most challenging areas of the retop process were the joints, as I had to ensure that the loops were correct and that they could collapse properly.
I retopped the body and clothes together: the two skirts and the sash and belt. This would help me to avoid clipping when rigging and make the weighting process more efficient.
The final parts I retopped were the head, hands and feet. The hands and feet were especially challenging as I had less space to work with in making working loops and collapsing joints.
I used reference to make the face topology. I ended up with a fairly high poly face but as I was working well within my budget of 15000 tris I was satisfied with this outcome. I also reviewed it with my teacher.
The crown was retopped as part of the face as it would not be removed in game and could be considered one object. I struggled with the potruding sections but I am pleased with how they turned out.
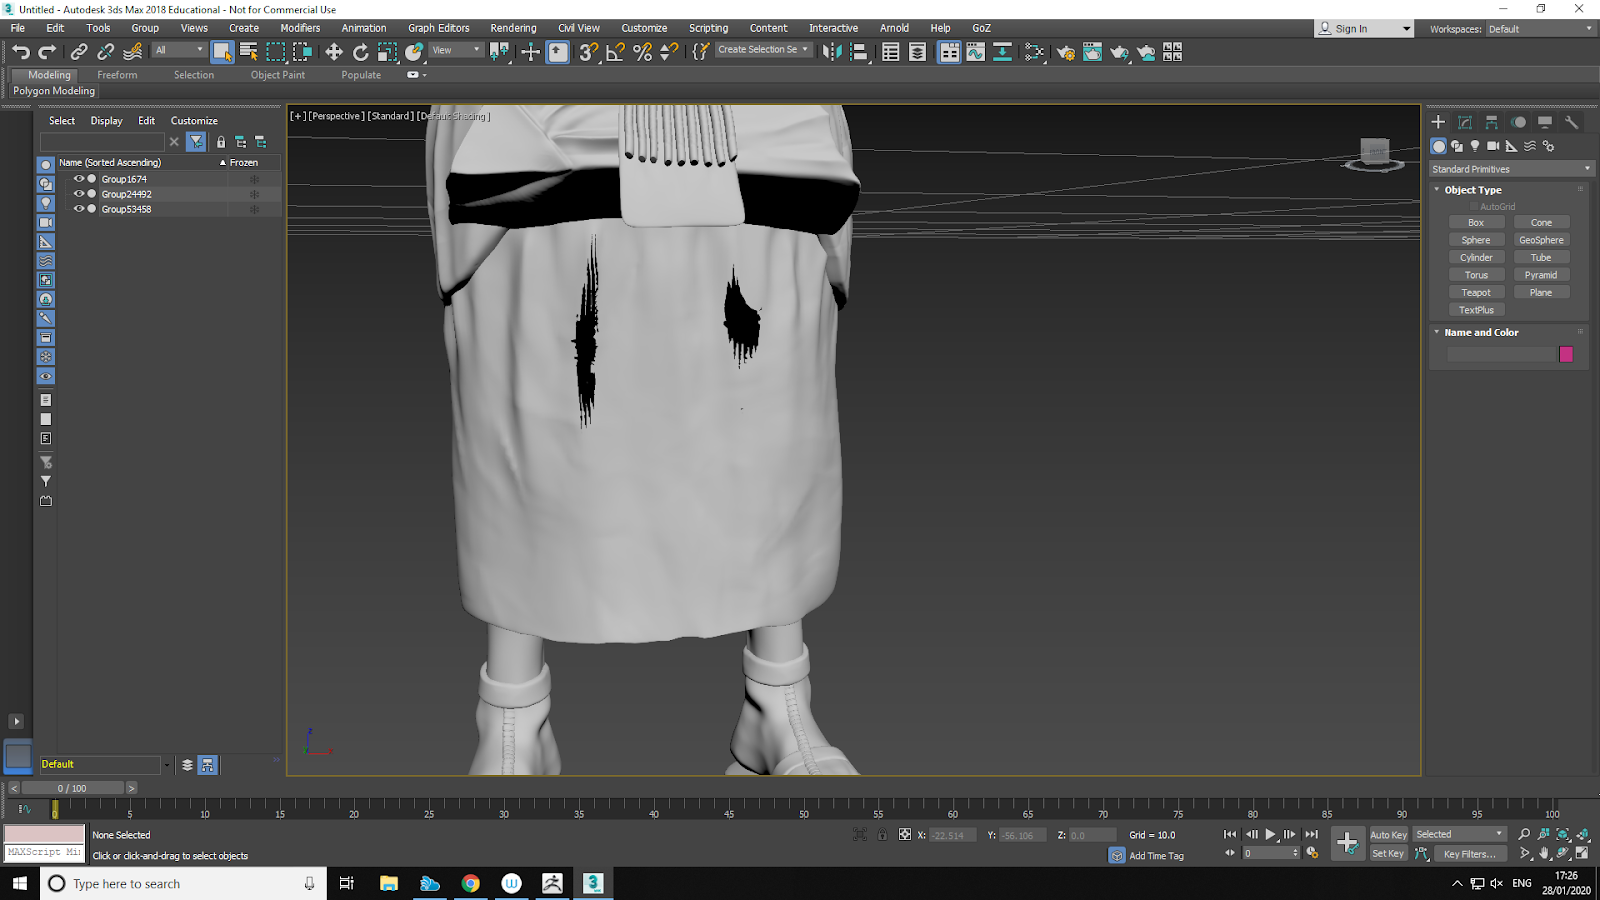
For the underneath section of the skirt I extruded the edges up to the knees, andd collapsed them in. This prevented me from wasting tris on parts of the legs that would not be visible.
The feet and lower legs were made in a similar way to the arms. I ensured that I straightened the underneath of the sandal in the retop as the Zbrush sandal was uneven and would be visibly clipping through the floor.
Lastly I retopped the accessories that needed to be done seperately, such as the beard, the pyramid decoration and the necklace.
For the beaded areas, I used an overarching plane to block out the areas where there would be detail. This saved a lot of time and would still allow the bake to show through well if baked correctly.
The last part that I retoppped was the eye, which I used symmetry on. I made the cornea shape which bulged outwards from the iris, and when baked it would show the detail further inside the eye. This will make a more realistic eye shape.
Finally, I applied suitable smoothing groups to my model, and unwrapped. I tried to keep all of the body and main clothes on one sheet, and the remainder of the clothes and accessories on another.
I was pleased with the results of my retop, especially due to the problems I encountered when importing.